


A rail height should make sense in your room, not just in a cropped photograph.Dan · Owner, BH Builders
 I would not choose your wainscoting height from a single number on a design website. I would tape a line on your wall, stand in the doorway, and look at the windows, outlets, furniture, and existing trim together. In a Denver home with rooms that connect visually, a rail that looks right on one wall can feel awkward around the corner. My job is to make the layout belong to the room, including the ordinary electrical devices that photographs tend to hide.
The featured photograph shows finished kitchen and dining nook with windows and painted walls. I am using this documented BH Builders project image to show the surrounding remodeling context. It does not establish a hidden material, product rating or installation detail discussed below.
I decide what the paneling should do
Some homeowners want a quiet painted backdrop. Others want the lower wall to have a stronger rhythm or a more durable finish. I ask which result matters before choosing the panel arrangement. Applied molding over a prepared wall, a recessed-panel assembly, and beadboard do not create the same visual weight. I also ask whether the room's furniture will cover most of the work. A feature that disappears behind a full-height bookcase may not deserve the largest share of the finish budget.
 For product vocabulary, Metrie's installation resources distinguish panel molding and chair-rail work among its trim guides. I use the selected manufacturer's product and finishing instructions, then resolve the proportions in the actual room. A catalog arrangement is a starting reference, not a room-specific layout.
I test the rail at full scale
I mark two or three possible rail positions with removable tape after checking that the wall finish can tolerate it. Then I look from the seated position and from adjacent rooms. A height that seems balanced standing up may cut awkwardly across the back of a dining chair. I include the thickness of the top cap in the mockup instead of treating a thin pencil line as the entire trim assembly.
- I mark window sills, casing edges, and existing baseboards.
- I locate switches and receptacle cover plates, not just their boxes.
- I add the actual furniture heights that will remain in the room.
- I note walls that continue into another space without a clear stopping point.
I compare panel systems before drawing boxes
The choice affects preparation and the way the work meets existing trim. I do not assume one option is cheaper until the wall condition and finish scope are clear.
| Approach | My main layout question | Preparation to clarify |
|---|---|---|
| Applied molding | Do the open wall areas look balanced? | Wall repairs and paint uniformity inside each frame |
| Recessed panels | Do rails and stiles align with openings? | Assembly thickness and how it meets casing |
| Beadboard | Where do the repeating grooves start and stop? | Panel joints, substrate, and finished edge details |
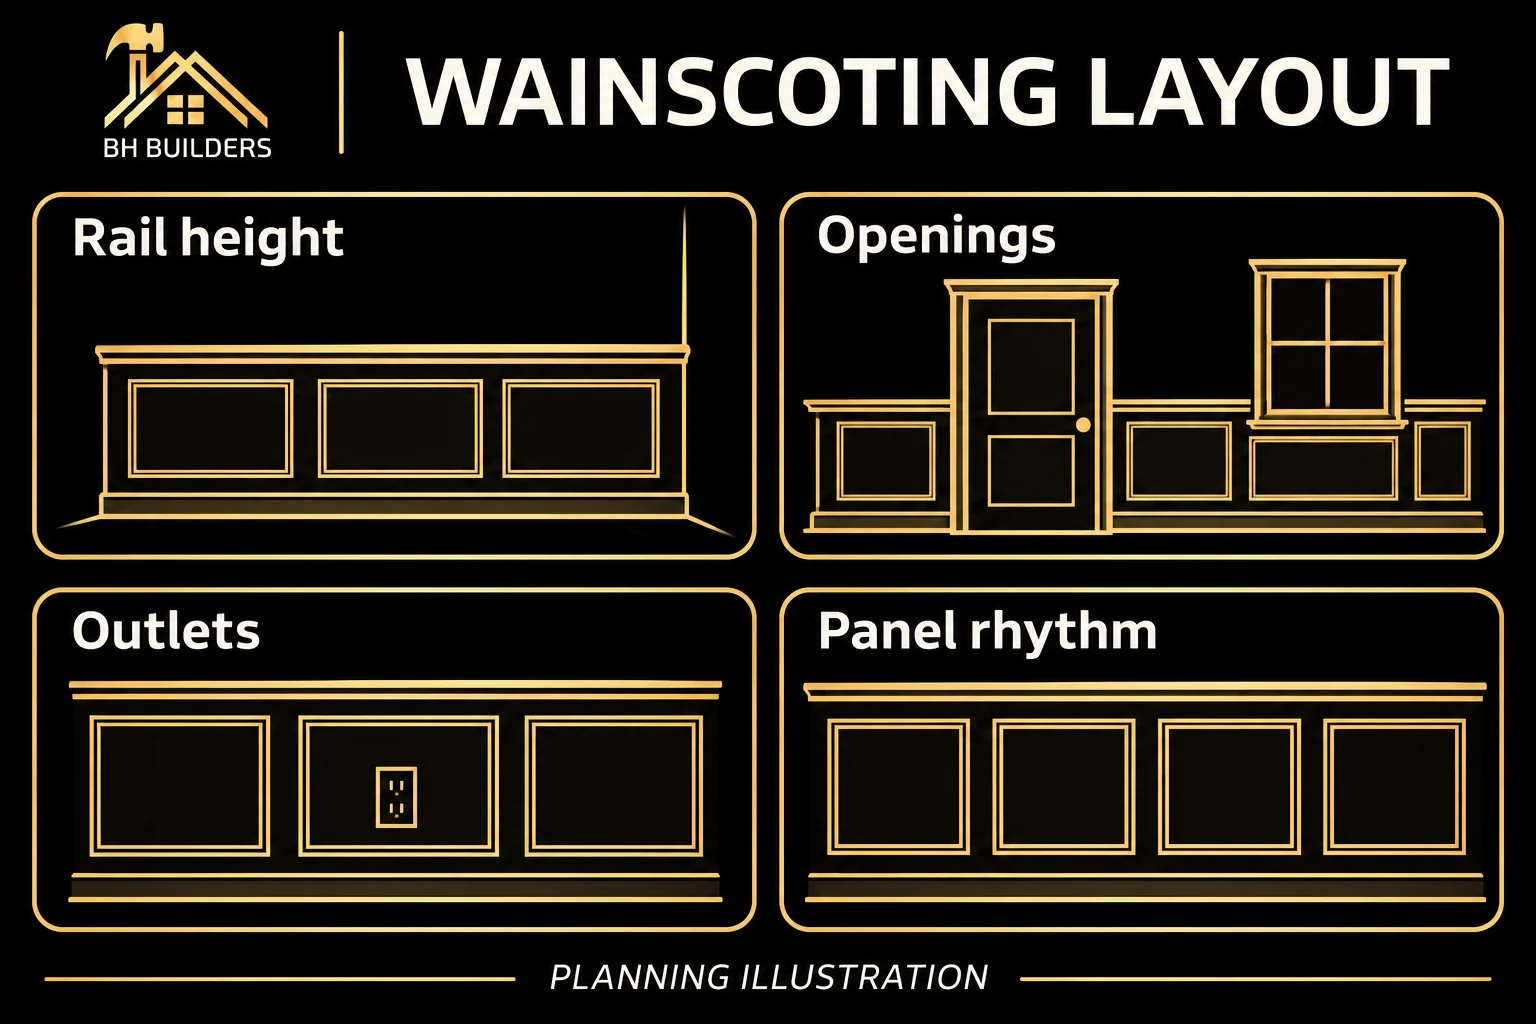
Outlets are part of the drawing
 I prefer to know about an electrical conflict while the design is still tape. A receptacle centered in a narrow stile or split by a molding line looks like an afterthought because it usually is one. Sometimes adjusting the panel widths solves it cleanly. Sometimes moving a device is worth discussing with the electrician. I do not notch a decorative assembly around a cover plate and call that the only available answer.
I separate appearance from electrical work
Adding wall thickness changes the relationship between the finished surface and existing electrical boxes. I have the electrician determine the proper treatment and any permit requirements. I never cover a junction box to keep the panel pattern uninterrupted. If an access point needs to remain visible, I design around that reality.
I include the actual cover plate
Different plates occupy different amounts of wall space. I want the intended plate on the layout, with enough room to remove it later. That is a small coordination task with a visible result, especially when the wall and trim use contrasting colors.
How I approve the room layout
 I follow the room around its corners before releasing material quantities. Equal panel widths everywhere are not always possible or desirable; a coherent pattern matters more than forcing one dimension onto every wall.
- I draw each wall elevation with openings and device locations.
- I establish the rail height and the width of the actual molding profiles.
- I test panel counts on the longest visible wall, then resolve shorter returns.
- I tape the difficult corners, outlet conflicts, and door transitions at full size.
- I photograph the agreed layout and attach it to the finish scope.
This is the sort of finish coordination I include when discussing a whole-home renovation. If you are phasing work, our guide to remodeling in phases helps frame the larger sequence; the panel layout still needs its own approval.
I resolve where the paneling stops
 A nice pattern can be let down by an unresolved end. I check the outside corners, stair transitions, door casing, and any open end beside a cabinet. I want a deliberate return or termination detail, not a raw edge concealed with a thick bead of caulk. Where existing trim is too thin for the new assembly, I compare changing the profile, adding a compatible transition, or choosing a shallower panel treatment.
| Location | Decision I document |
|---|---|
| Door casing | How the rail meets the casing without an exposed unfinished edge |
| Outside corner | How the pattern and cap turn together |
| Baseboard | Whether it stays, changes, or becomes part of the panel assembly |
| Stair or sloped floor | Which reference line controls the visible rail |
I approve paint on a real sample
I want to see the profile with the intended paint sheen under the room's lighting. A dark glossy finish emphasizes different edges than a light matte finish. I also ask who handles nail holes, joints, sanding, priming, and the wall areas between moldings. If the quote says only “install wainscoting,” those responsibilities are still open questions. I would settle them before installation makes the room difficult to paint efficiently.
My walkthrough checks the whole composition
 I look at the work from the same viewpoints used to approve it. Close inspection matters, but so does the view from the hall where the entire wall is visible.
- I compare rail height and panel rhythm with the approved layout.
- I inspect corners, casing intersections, and painted end details.
- I confirm that device covers and required access points remain usable.
- I record specific finish corrections by wall and location.
For a Denver interior remodel, send me a room photo with the furniture that will stay. I would rather design a few well-proportioned panels around your actual life than fill every wall with matching boxes that never belonged there.
Keep reading from the BH Builders blog
I start the panel layout with the openings we cannot ignore.Dan · Owner, BH Builders
Planning a project of your own?
Free, no-pressure estimates across the Denver metro, and four instant calculators.
📞 Call (720) 980-3913 Schedule a Free Meeting